As many enjoy the spring and summer weather, full of sunshine and a light breeze, it’s only natural to want to open your home to let in the fresh air. Unfortunately, screens in doors and windows can catch lots of dust, pollen and bugs, making them a piece of your home that should be cleaned regularly. It’s important to take the time to clean each and every screen before opening up your home to the elements—and those pesky mosquitoes—at the beginning and end of each season.
Removable screens are going to be easiest to clean, however, you will want to start with a clear plan. Whether you plan to do one screen at a time, one floor at a time or bring them all out, be sure to mark each screen and window with a number, letter or other form of marking to ensure each screen is placed in the correct place when finished. This will help with any possible size differences, as window measurements can vary.
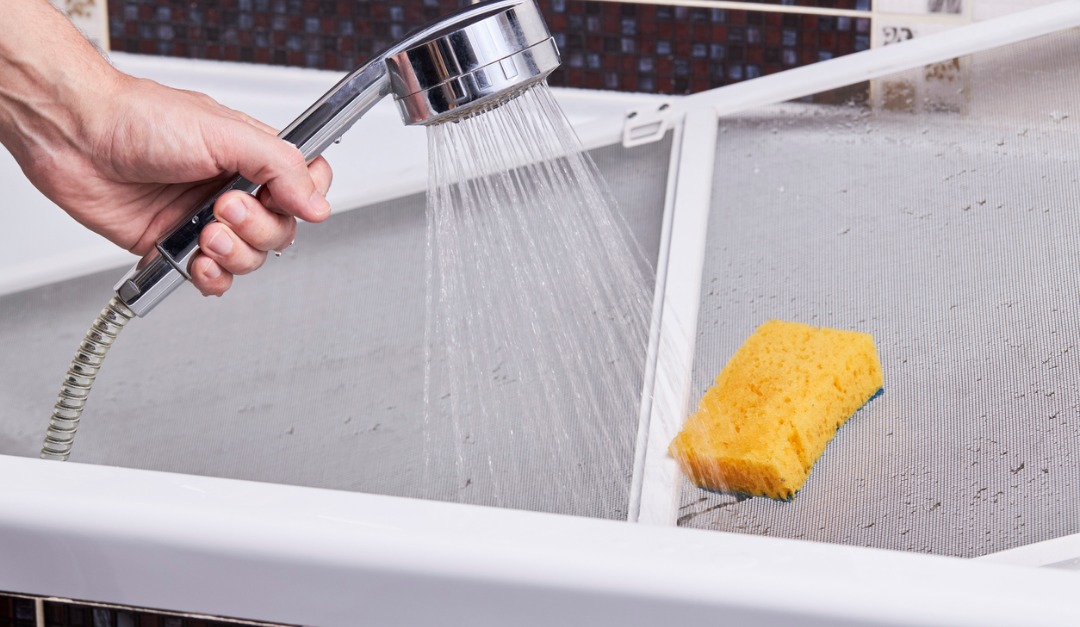
Once you remove your screens, lay them out on top of a tarp, preferably on a deck, driveway or other flat, hard surface. If you don’t have a flat surface or can’t wash your screens outside, use your bathtub lined with towels to avoid any scratches or damage to the tub. Next, gather all of your cleaning supplies and tools.
What You Need:
- Garden hose with spray attachment (or shower sprayer for indoor cleaning)
- Bucket filled with clean water
- Ammonia
- Vacuum with dusting attachment
- Sponge or microfiber cloth
- Dry towels (preferably old)
- Gloves (optional)
To start, you will want to use the vacuum cleaner with the dusting attachment to remove any dust, pollen and cobwebs. Be sure to flip each screen to clean both sides.
Next, in your water bucket, mix in household ammonia. For best results, use three parts water and one part ammonia, and stir well. Dip your sponge or microfiber cloth into your cleaning solution and wipe down every part of the screen, including the frame.
With the spray attachment on your hose or shower head, rinse down each screen, again flipping to ensure you get both sides. Be sure the water pressure isn’t too high, as this can warp or damage the screens. Lay out to air dry or use old towels to pat each one dry.
Before reinstalling your screens, wipe down your window frames. Focus on corners and crevices, as most dust, pollen and insects tend to collect here. Ensure each screen and window frame is completely dry before installing.
For non-removable screens, most commonly found on doors, you will follow a similar process, just without a vacuum cleaner or garden hose. First, place old towels or tarp on the floor where you will be cleaning to protect floors and carpets.
Next, instead of causing any potential warping or damage to the screen, replace the vacuum with a handheld duster to remove the dust and pollen. Be sure to dust both sides of the screen. For second floor windows, this may require a ladder. Use the dusting attachment from your vacuum cleaner to remove and dirt, dust, pollen and insects from the window frame before cleaning.
With the same water and ammonia mix, dip your sponge or microfiber towel into the solution and clean the screens. Once you are finished with the cleaning solution, dip a new sponge or cloth into clean water and wipe to rinse. Use a clean, dry towel to pat dry each window frame and screen. Ensure it is completely dry before closing the window, as this can cause mold and mildew to form.
Once all your door and window screens are clean, you will be able to enjoy fresh, cool and breezy air throughout your entire home.


