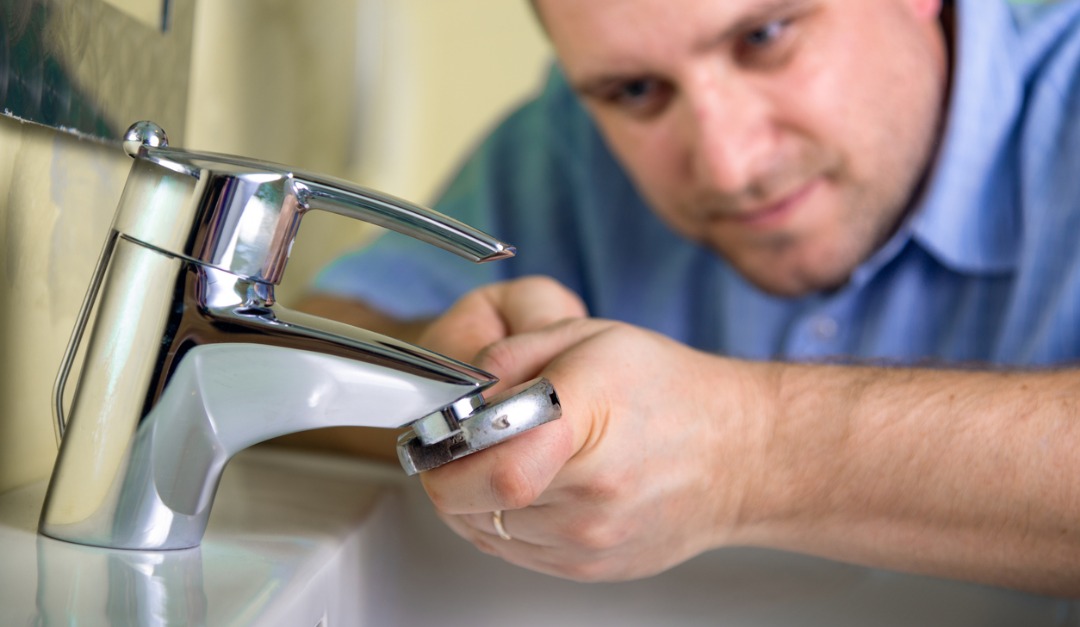
The dripping of water from a faulty faucet isn’t really loud, but it can be so annoying that it seems deafening. Plus, every drip is a reminder that you’re wasting water, and money, which can make sleeping even more difficult.
Luckily, fixing a leaky faucet is often an easy job that just about anyone can do. Here’s how:
Turn off the Water
Underneath your sink is a valve that brings water to your faucet. Turn it to the right to stop the supply of water. If by some chance there isn’t a valve here, turn off the water for the entire house.
Remove the Handle
Start by taking off decorative parts of knobs, which you can do with a flat-head screwdriver. Then, use a screwdriver to remove the screw underneath the cover. If the screw is behind the handle, use a hex key or Allen wrench to remove it.
Take Out the Cartridge
The cartridge is a part of your faucet that turns with the handle, thus controlling the flow of water. You can loosen it with a crescent wrench. Some faucets may require the use of a specialized tool to loosen the cartridge. Check your owner’s manual. If you no longer have it, you can likely find information about your faucet model online.
Install the New Cartridge
Replacing the O-ring and washer may make the repair, but keep in mind that the new O-ring or washer needs to be a precise fit. Or, you can replace the cartridge itself. To buy the right cartridge, you should know the faucet’s manufacturer and model number. You can also bring your old cartridge to a home repair store.
Reassemble the Faucet
Tighten the packing nut with a crescent, but don’t make it too tight. Then put back the handle. Turn the water for the faucet back on and test the faucet, both hot and cold water, for a few minutes each.
If, as you go along, you discover a different problem, or making this repair doesn’t end the leak, it may be time to call in a professional.


