Looking for a way to entertain your little ones during the spookiest season of the year? This simple, affordable craft will use supplies from around your house to spark your kiddos’ imagination and get them into the Halloween spirit! You’ll just need a few materials before you begin.
What You’ll Need:
- Paper Plates
- Construction Paper
- Scissors
- Glue
- Markers/Crayons/Colored Pencils
- Hole Punch
- String
Optional:
- Feathers
- Pompons
- Googly eyes
- Pipe Cleaners
Let’s Get Crafting!
Prep: Cut out facial feature shapes.
Place into separate bowls so they are easy to grab as you go. Teeth, noses, lips, ears, lashes, brows, horns, and fangs. Whatever you can think up!
Pro tip!
Use another bowl to hold glue so you can have it ready to go. Glue sticks are also a good solution to help you tame your monstrous mess.
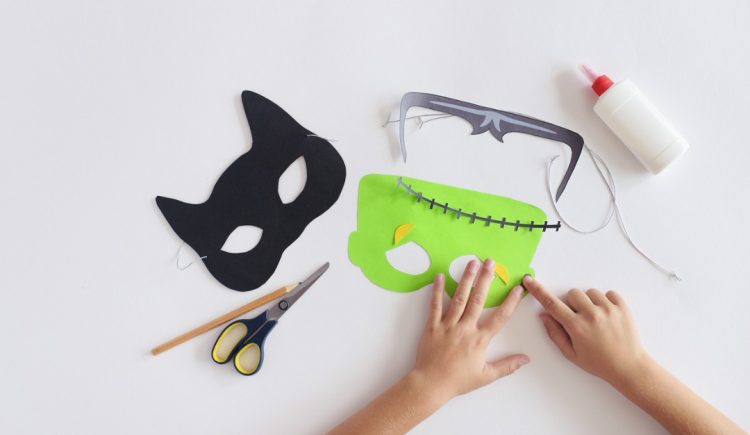
Step 1: Create your face shape.
Cut the paper plate into whatever shape you’d like it to be. Use it to cover all or half of your face. Cut out holes for your mouth and eyes.
Step 2: Add some color.
Glue down construction paper or use markers/crayons/colored pencils to create the base color for your gruesome creation.
Step 3: Add your freaky features!
Using a paintbrush, brush glue onto the backs of all the prepared facial features. Get creative and see how bone-chilling your mask can be. Use pipe cleaners, pompons, feathers, and googly eyes to add an extra freaky factor to your creation.
Step 4: Fit the mask.
Measure around your head with string. Punch a hole on either side of the paper plate. Loop the string through the holes and tie it tight.
Step 5: Put your creation to the test!
Slip the mask over your head. Pair it with a spunky hairstyle and a funky outfit to truly bring out your inner monster! Show it off in a costume contest, spooky photoshoot, or around the neighborhood on Halloween night.


